Decorating Tips For Art
Buying original art or art prints is a lot of fun! You see something that grabs you, that you absolutely LOVE, you buy it and carefully transport it home. Now what!??! Where do I put it? Do I need special lighting?
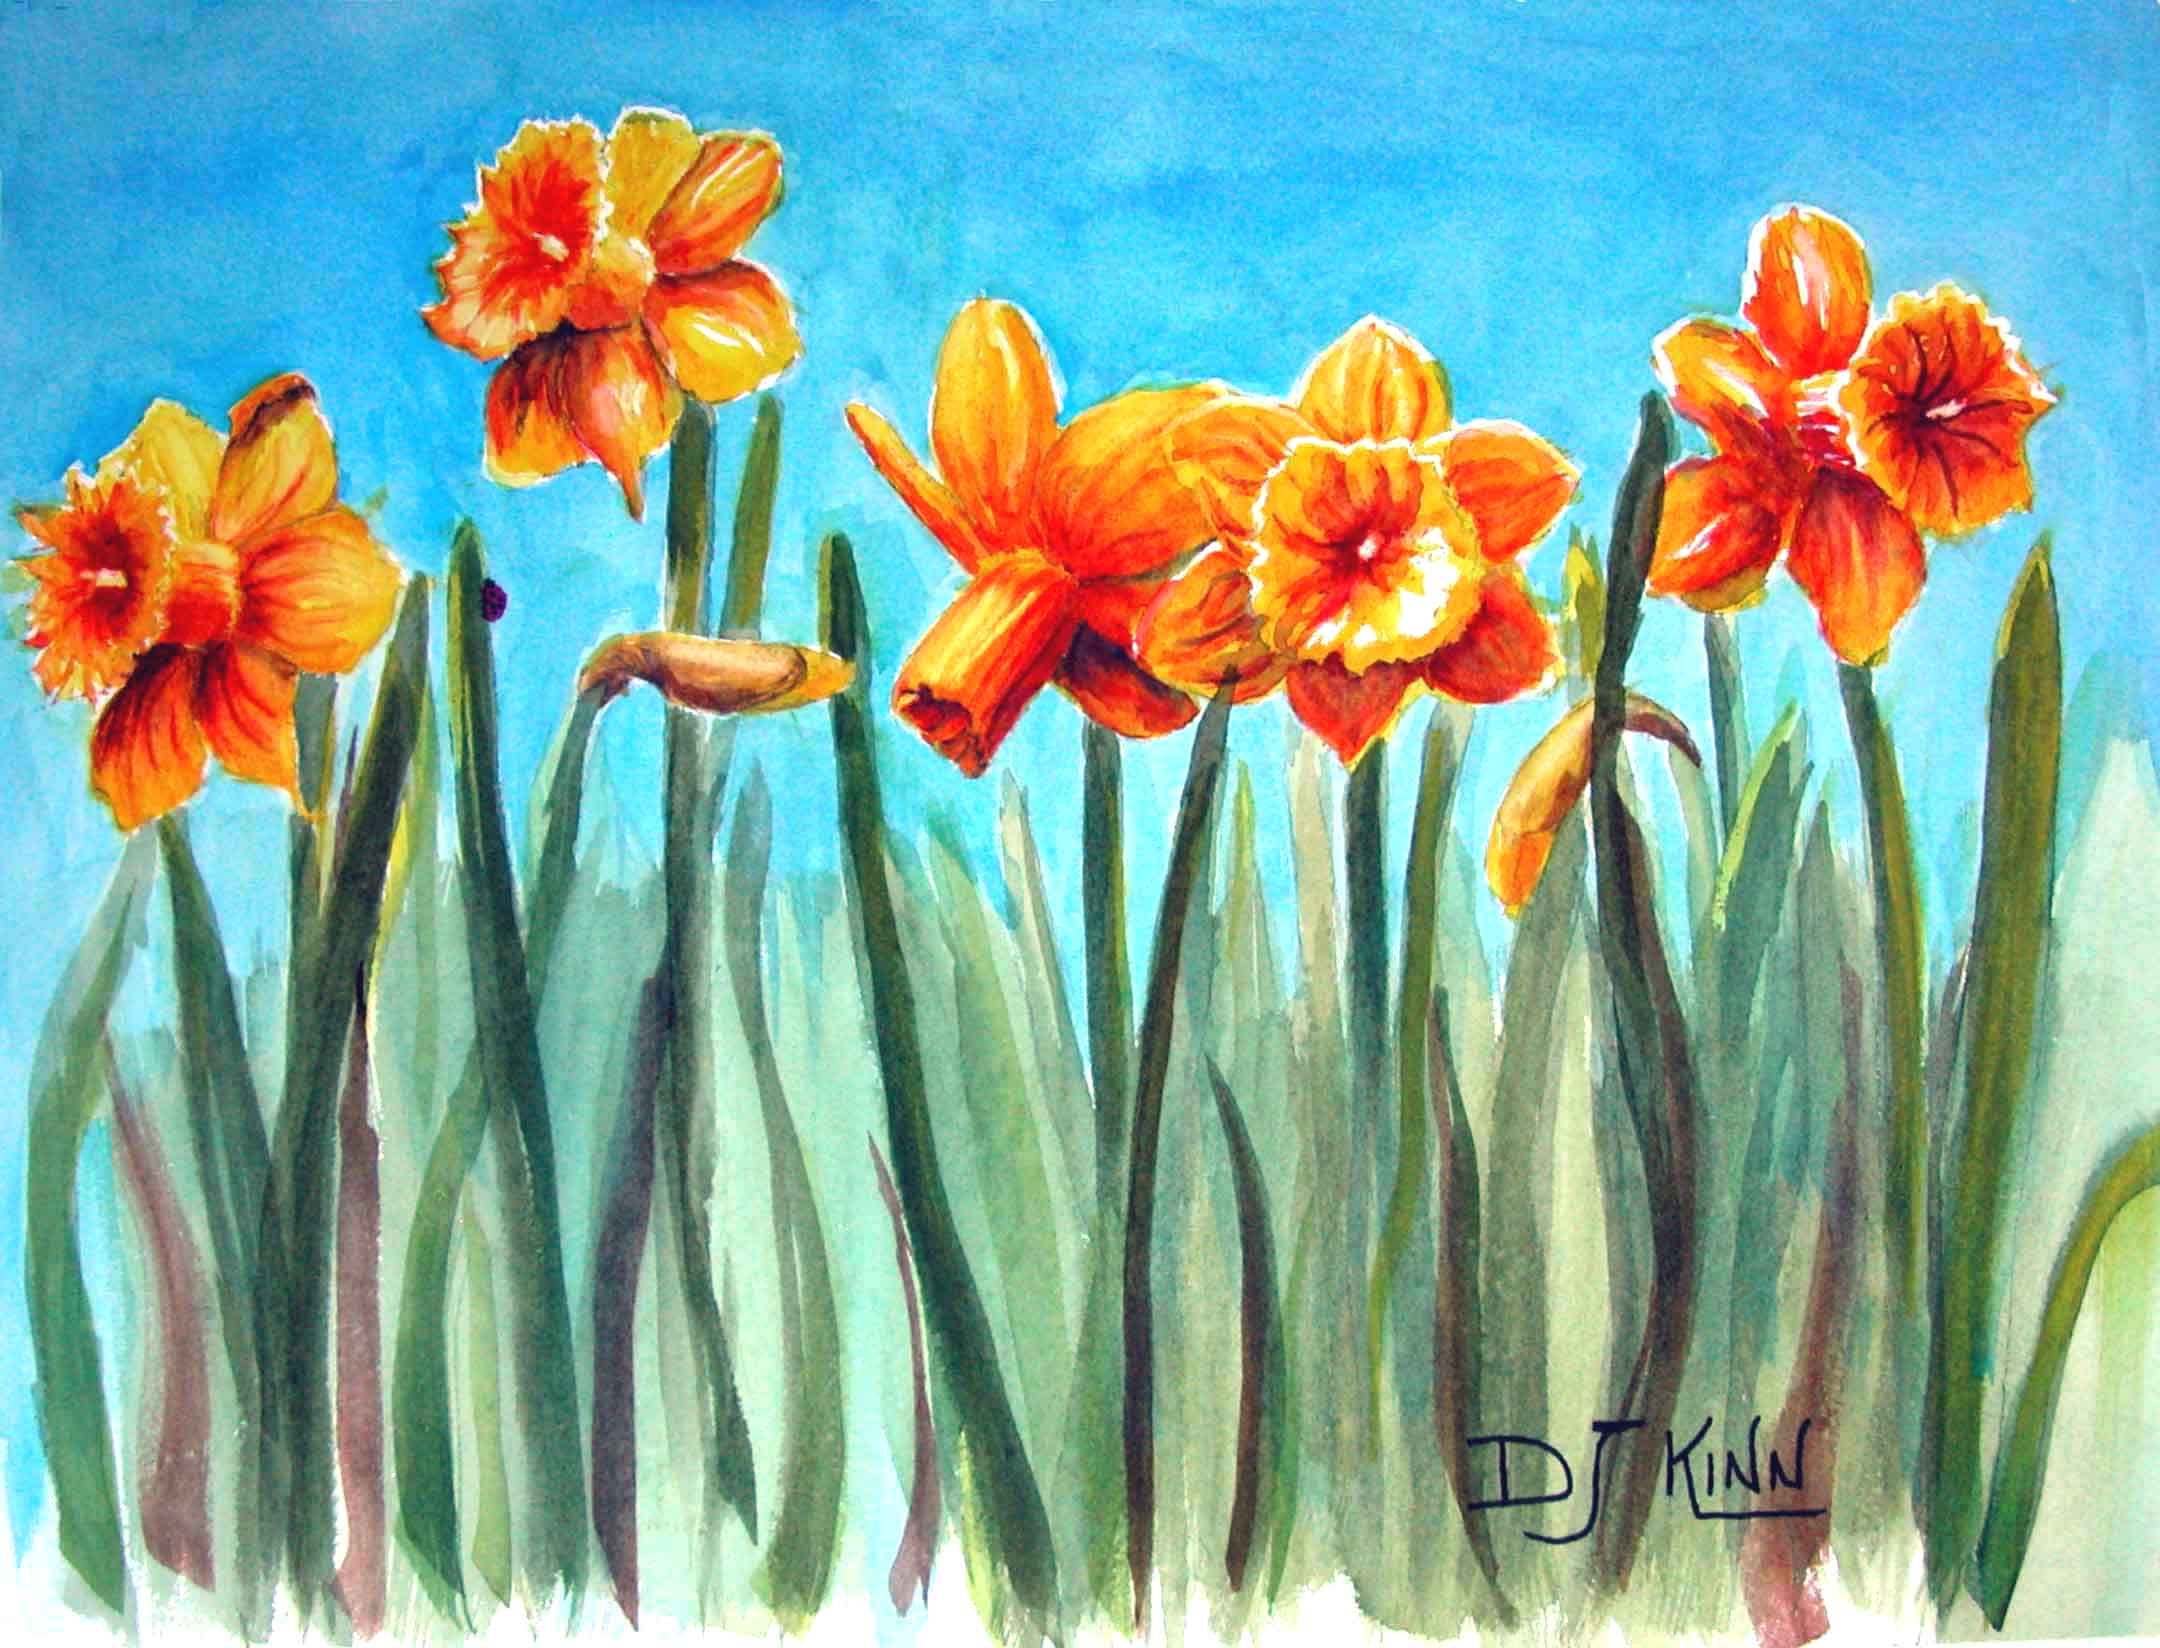
First off, decide if your newly acquired original art or art print is to be the center of attention in the room or simply an accent piece. Sometimes the size makes this determination for you. A large piece of art simply begs to be placed front and center.
Don’t crowd your new painting onto a wall that is too narrow for it, especially if it is a large painting. Have at least 4 inches of wall on either side of it for art that is 16 inches wide or less. The wider the piece, the more space you’ll want. An easy way to preview something before putting holes in the wall is to lay the piece on the floor in front of the wall you want to use, centering it where you’d like it on the wall. Then step back and squint and use your imagination. This is a really good way to arrange groupings. You can rearrange until you find the most pleasing set-up before making holes in the wall.
Remember to look at what is on nearby walls to make sure they coordinate with your new art. You might want to re-arrange your other art in that room to create a similar content theme or color theme. As an example, if you love lighthouses and have several pieces of work featuring lighthouses, that would be a nice theme for a room. Keep your furniture in solid neutral colors with perhaps an accent pillow here and there that reflect a color in the art. Or if you have several predominately blue pieces, then those would work as a blue theme. The important thing to remember is to keep your furniture patterns (stripes, florals, etc.) to a minimum or only solids so the furniture doesn’t compete with your art.
Always use two hooks with nails to hang art (please don’t succumb to just using nails). An easy guide to spacing the hooks is to take the number of inches wide the painting is and divide by 2. That is how far apart you nails should be. As an example, if your painting is 16 inches wide, then you hooks should be 8 inches apart. (16 divided by 2 equals 8). SIMPLE!!
How to Hang Art
The best tip I’ve been given is to always hang your art at 57″ on center (measuring vertically from floor). “On center” means that the middle of the picture is at 57″ (obviously, the hook will be higher). Interestingly, the 57″ standard represents the average human eye-height and is regularly used as a standard in many galleries and museums…
What WE have discovered is that if you stick to this standard, you create a harmony among ALL the pictures in your home, as they will always hang in relationship to one another from their centers, not their sides. Additionally, we have also found that this helps solve the problem many people have, which is that they hang their pictures too high.
Step By Step:
1. Measure and lightly mark 57″ on the wall
2. Measure top of your picture to the middle (or take height and divide by 2)
3. Measure top of your picture to the tightened wire (a small amount)
4. Subtract this last amount to tell you how far above 57″ your hook should go
5. Measure up from 57″ with this last amount and lightly mark on the wall
Example:
1. Picture is 20″ tall
2. Middle is 10″ down from top (this should rest at 57″)
3. Wire comes to 2″ below the top
4. 10″ – 2″ = 8″
5. Lightly mark 8″ above your first mark OR 65″ on the wall
Though this may seem complicated to read, it is quite simple when you do it. The thing to always remember is that the CENTER of all your pictures are hanging at the same 57″, and you are just figuring out where the hook goes above it.
This 57″ also applies to groups of pictures. Think of a group as ONE picture. After you arrange how you want them all to hang (doing this on the floor makes it easier), start with the center picture/pictures and get them at 57″ on center. Then surround them with the rest of the group. Using a level and tape measure makes this easier.
In my next newsletter, I’ll pass on some information about lighting. For now, DO NOT hang fine art (original or prints) where they will receive direct sunlight. The UV rays will destroy your art by fading it.